I have a AllStar node that I use for linking into the AllStar Link HAM network. I am running HAMVoip version 1.7-01. After setting up the HAMVoip software, I noticed that it didn’t automatically setup a web management interface. Well this is by design (I think) so that you can’t shoot your self in the foot, you have to go in and set it up. It is already installed, just not configured.
This document will go over what I did to get it all configured.
Things you will need to know ahead of time.
- The IP Address of your node
- Your node number
Adding a Management password to your node:
Login to your node (either via the console or SSH) and change to the asterisk directory.
cd /etc/asteriskEdit the manager.conf file
nano manager.confMake up a secure password and add it in on the line that starts with secret= under the [admin] section (close to the bottom of the file). For example:
secret = <PASSWORD>Enter your desired password in place of the <PASSWORD>
Save the file and restart asterisk (using the astres.sh script).
astres.shUpdate the Supermon config:
Change into the supermon directory.
cd /srv/http/supermonEdit the allmon.ini file.
nano allmon.iniChange the section heading [1998] and replace the 1998 with your node number. 1998 is a proviate node number used for testing, you will want to make sure this is your node number. My node number is 60550 so I will change the section heading to [60550].
below the [60550] heading, you will find a line that starts with passwd=. Change this you include your password. This is the management password you added in the section above.
passwd=<PASSWORD>Make sure to use the management password you added in the section above.
There are other spots in the file where 1998 is listed. Change all occurrences of 1998 with your node number. In my case that would be 60550.
The other node (1999) can just be left in for now. It is another local test node but will not affect anything.
Setting up your user password:
Now you will want to protect your Supermon web page so that only you (or others that you allow) can access it. This is done by adding in the username and password that is used by the supermon login.
Make sure you are still in the supermon directory and if not, then change to it.
cd /srv/http/supermonRemove the existing password file.
rm .htpasswdCreate a new file with you username added. You can pick any username (your callsign will work well).
htpasswd -cB .htpasswd <USERNAME>make sure to enter your username instead of <USERNAME>. This is a username you will use to login to the supermon page, it doesn’t have to be the same as any other username if you want. The program will prompt you for the password. Enter it as well.
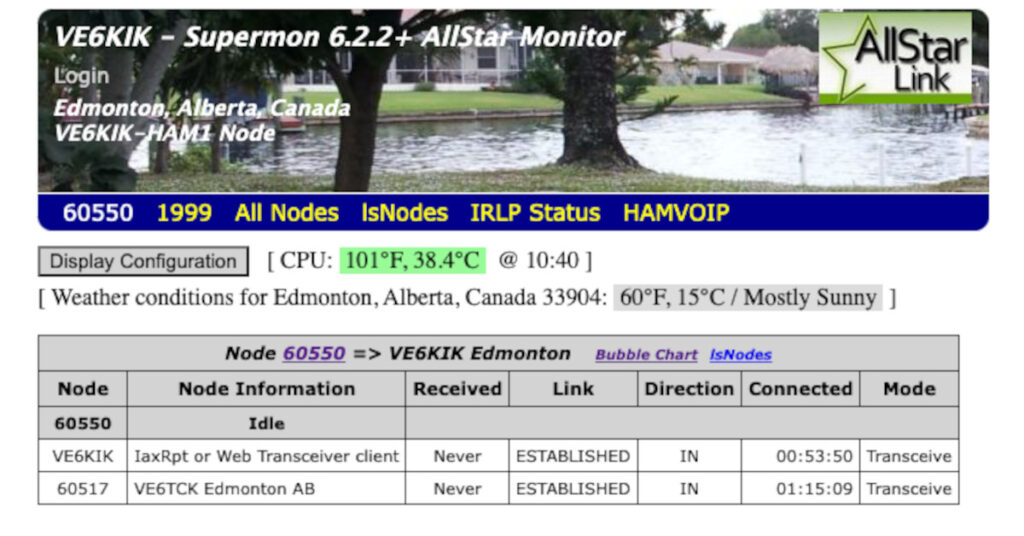
That’s all there is. You can now try to login to your supermon page.
http://<NODE IP>/supermonNote you should enter your node’s IP address in instead of the <NODE IP>. For example, if my nodes IP was 192.168.10.1 I would type (in my broswer):
http://192.168.10.1/supermonEnjoy!
Note: For more additional information and to see what other features can be enable in SuperMon, check out this article.